Defining Distribution Points
An essential configuration detail for any
package is identifying the distribution points on which the package can
be found. You should have already assigned the distribution point role
to one or more site systems in your SMS site, as well as at any child
sites. You now need to tell SMS which of those distribution points will
host the package.
Note
If
you’re distributing the package to a child site, even if the SMS
administrator for that site will ultimately distribute the package to
its clients, you still must identify at least one distribution point at
that child site when you create the package. |
To define distribution points, follow these steps:
1. | Navigate to the Packages folder, find your package entry, and expand it.
|
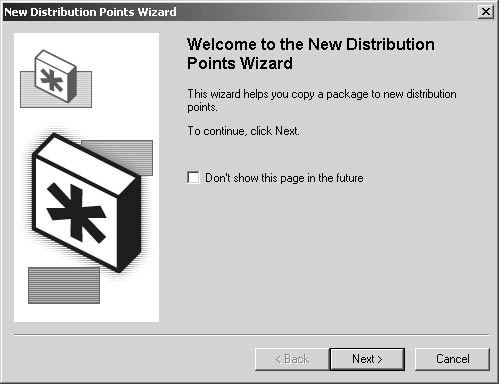
2. | Right-click
Distribution Points, choose New from the context menu, and then choose
Distribution Points to activate the New Distribution Points Wizard,
shown in Figure 12.
|
3. | Click Next to display the Copy Package page, shown in Figure 13. This page shows a list of available distribution points. Scroll through the list and select the distribution points you want.

|
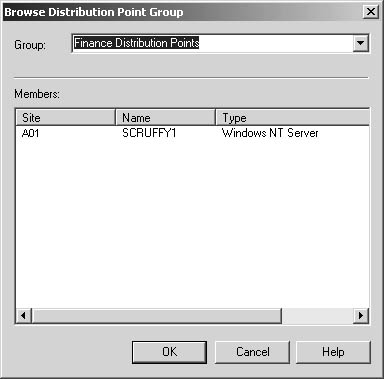
4. | Click Select Group to open the Browse Distribution Point Group page, shown in Figure 14. Here you can view a list of distribution point groups and their member site systems. If you select one of the distribution
point groups and click OK, all the site systems that are members of
that group will be selected in the Copy Package page.
|
5. | Click Finish to add the distribution points you selected to the package details.
|
Once you have added a distribution point to the
package, that distribution point will no longer appear in the list of
available distribution points if you run the New Distribution Points
Wizard again—the wizard displays only distribution points that are
available. If you need to remove a distribution point from the package,
select it, right-click it, and choose Delete from the context menu. When
you delete a distribution point, you’ll also delete the package source
directory on that distribution point.
It’s often desirable to group distribution
points so that packages can be distributed to them as a block rather
than having to name the distribution points individually. Distribution
point groups are defined through the site settings of your site—in the
same place that you assign the distribution point role.
To define a distribution point group, follow these steps:
1. | In the SMS Administrator Console, navigate to the Site Systems folder under your site name, then Site Settings.
|
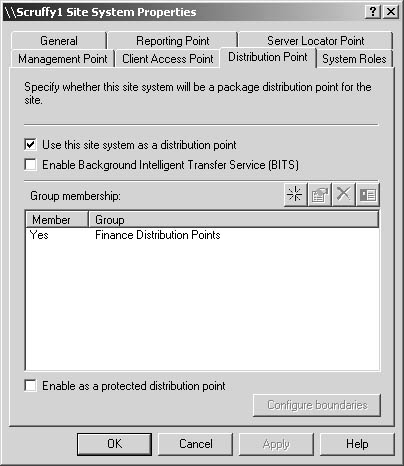
2. | Right-click
one of the distribution points you defined and choose Properties from
the context menu to display the Site System Properties dialog box.
Select the Distribution Point tab, shown in Figure 15.
|
3. | To
add a new distribution point group, in the Group Membership section
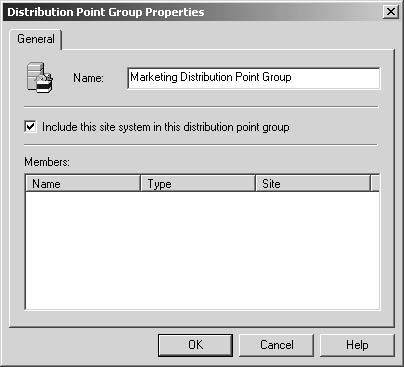
click the New button (the yellow star) to display the Distribution Point
Group Properties dialog box, shown in Figure 16.
Enter the name of the group and indicate whether this site system is to
be a member of the distribution point group. Then click OK to return to
the Site System Properties dialog box.
|
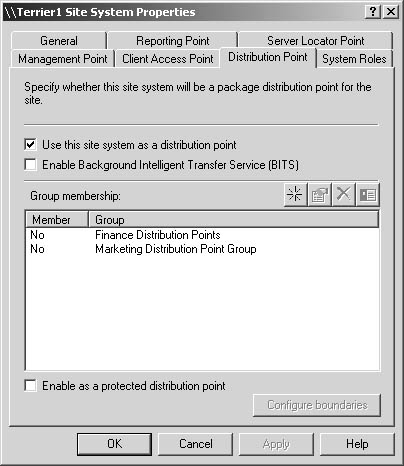
4. | Select
the next site system you want to include in the distribution point
group, right-click it, choose Properties from the context menu, and
select the Distribution Point tab. Notice that any distribution point
groups you have created will be listed in this tab for each site system,
as shown in Figure 17.
|
5. | Select
the distribution point group that this site system should be a member
of and click the Properties button (the hand holding a piece of paper)
to display the Distribution Point Group Properties dialog box, shown in Figure 18.
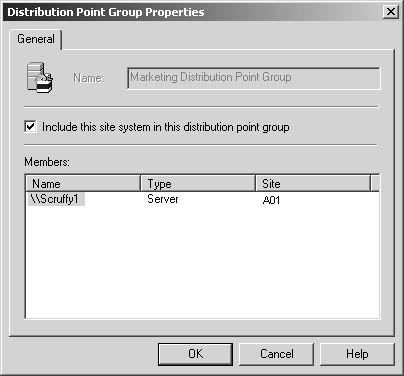
Select
the Include This Site System In This Distribution Point Group check box
and then click OK to return to the Distribution Point tab. The site
system now shows that it’s a member of the distribution point group.
Click OK again.
|
6. | Repeat step 5 for every site system that needs to be a member of a distribution point group.
|
If you need to remove a site system
from a distribution point group, simply repeat step 5 of this procedure,
but clear the Include This Site System In This Distribution Point Group
check box. If you need to remove a distribution point group altogether,
select any site system, open its Site Systems Properties dialog box,
and select the Distribution Point tab. Select the distribution point
group in the Group Membership list and click the Delete button (the
black “X”).
