Once you have determined that your databases are
compatible with SQL Server 2008, you are ready to perform an upgrade.
There are two ways to perform an upgrade. The first is known as an in-place upgrade,
and as the name implies, it upgrades an entire instance "in place" by
converting the data files to the new format. The second approach is
known as a side-by-side upgrade,
which consists of installing a second instance of SQL Server and moving
the data files to the new version. Both methods have their pros and
cons, and the best method for one application may not be the best method
for another. An in-place upgrade provides simplicity but lacks the
flexibility offered by a side-by-side upgrade.
1. In-Place Upgrade
An in-place upgrade can be used
to upgrade an instance of SQL Server 2000 or SQL Server 2005 directly
to SQL Server 2008. Search for "Version and Edition Upgrades" on MSDN
for specifics on the supported upgrade paths for each version and
edition.
One of the benefits of
performing an in-place upgrade is that you can use the same server and
instance names. This may save you from having to track down all the
connections to the database and point them to a new server or instance
name. It is a fairly simple process, much like performing an
installation. You do not need extra disk space to make a copy of the
data files because they will be converted to the new format during the
upgrade. The downside is that there is a point during the upgrade
process where there is no turning back. The only back out is to
reinstall the prior version of SQL Server and restore the databases from
a backup that was made prior to the upgrade. You cannot restore a
backup of a database that has been converted to SQL Server 2008 on a
previous version. If you determine that a problem has been caused a week
later by the upgrade, you will have to restore the database from a
backup prior to the upgrade and hope you have a way to recover the
transactions that have occurred since the upgrade.
|
It is important to have a tested
backup in a safe location, since that is the only way to back out of an
in-place upgrade. You may want to take an image of the server as well
and store it in a safe location to reduce the backout time.
|
|
The steps to performing an in-place upgrade include the following:
Make sure you have current backups in a safe location.
Run
SQL Server setup.exe. Install any prerequisites and exit the install.
If a reboot is required due to the prerequisites, reboot and run
setup.exe again.
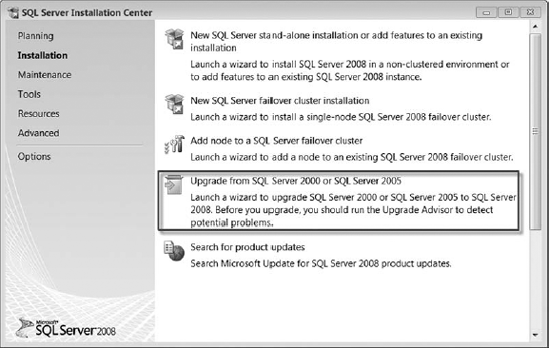
From the SQL Server Installation Center, select Upgrade from SQL Server 2000 or SQL Server 2005, as shown in Figure 1.
SQL Server will install any required support files, and you may be required to reboot and start setup.exe again.
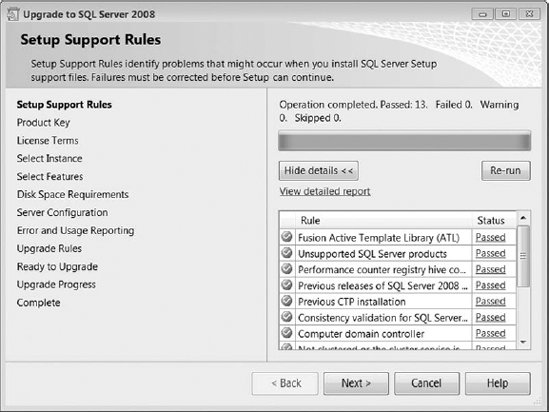
The
System Configuration Checker will run a discovery and setup log files
will be created for the installation. The Setup Support Rules screen,
shown in Figure 2,
identifies any problems that you may encounter when installing the
setup support files. These errors will need to be resolved in order to
continue.
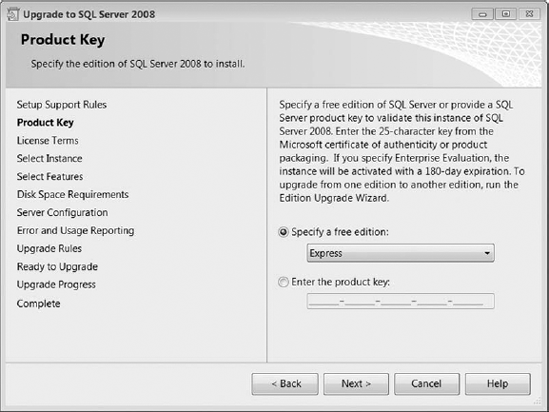
On the Product Key screen (see Figure 3), enter the product key or indicate that you are upgrading to a free version.
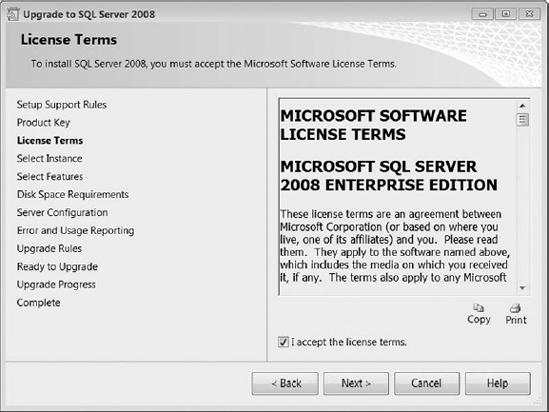
Accept the license agreement, as shown in Figure 4.
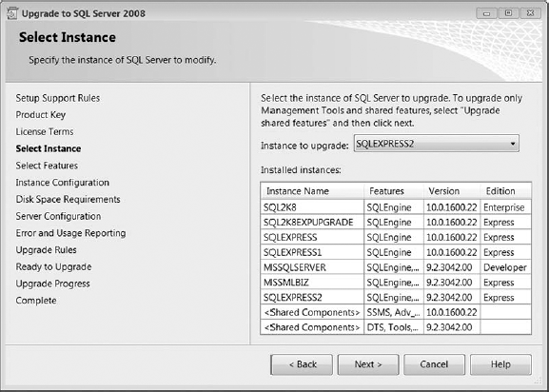
Select the instance of SQL Server you will be upgrading. You'll be presented with a list like that shown in Figure 5.
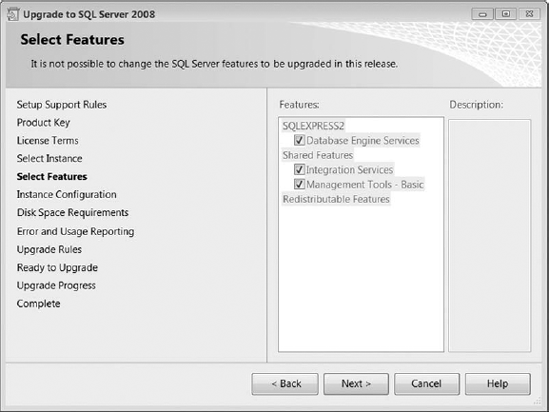
The feature selections will be preselected and cannot be changed. The checklist of features will be grayed out, as shown in Figure 6. If you need to add additional features, you will need to rerun setup.exe after the upgrade.
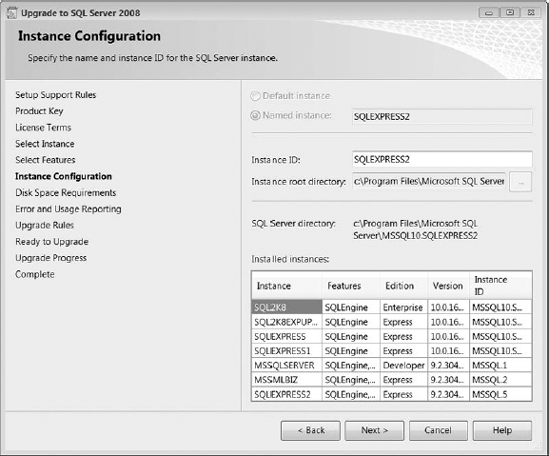
Specify the name of the new instance. In Figure 7, we specified SQLEXPRESS2 as our instance name.
Continue through the upgrade screens, validating the disk space requirements and selecting Error and Usage Reporting.
The
installer will do a final check to make sure the upgrade process will
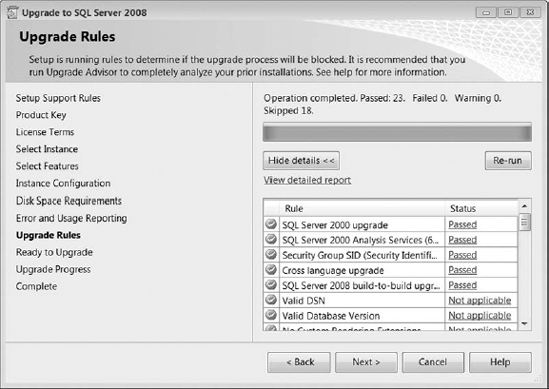
not be blocked. You'll be presented with upgrade rules like those in Figure 8. You'll be able to see which rules you pass, and which require some action on your part.
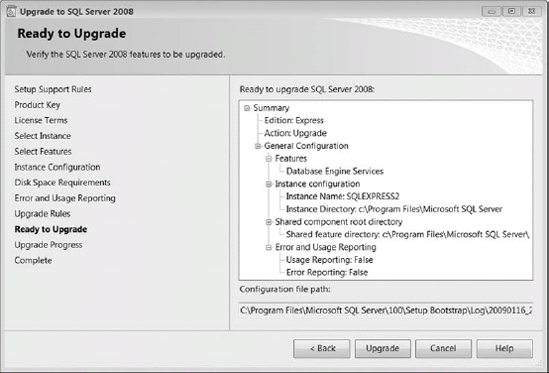
The Ready to Upgrade screen in Figure 9 allows you to verify all the features that will be upgraded prior to performing the upgrade.
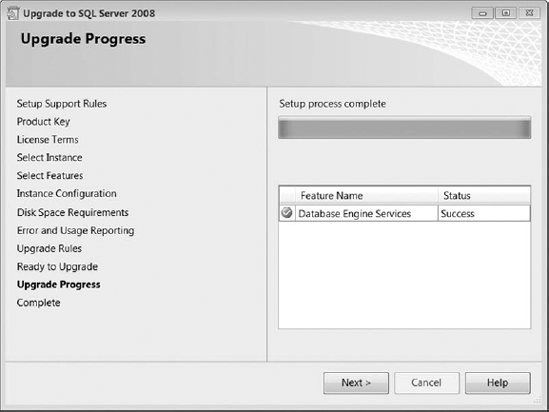
Next, the Upgrade Progress screen in Figure 10 allows you to view the status of the upgrade as it progresses.
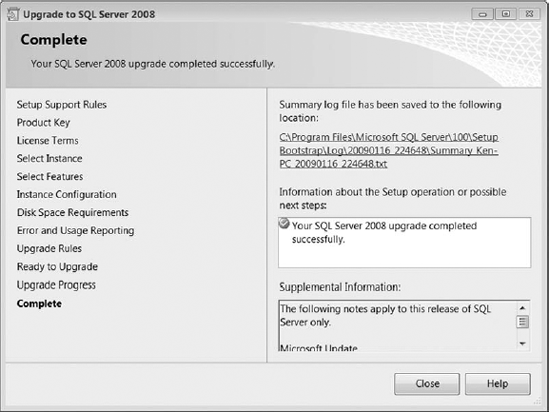
Review
the log file after the upgrade has completed. The installer will
provide a link to the log file on the Complete screen, shown at the
upper right of Figure 11.
