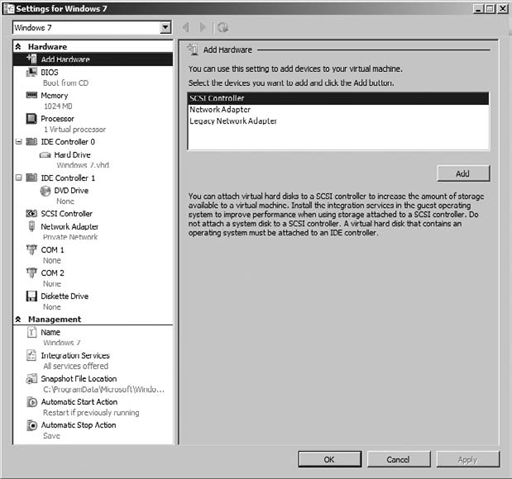
Add Hardware, as shown in Figure 4 This setting allows you to add a SCSI controller, a network adapter, or a legacy network adapter.
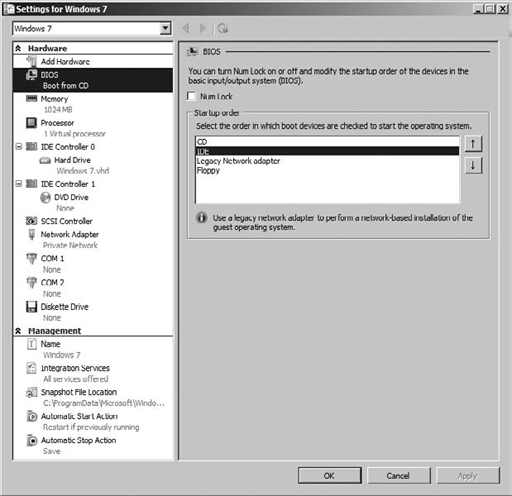
BIOS, as shown in Figure 5 Using this setting you can modify the order of the devices in the BIOS start order using the up and down arrows.
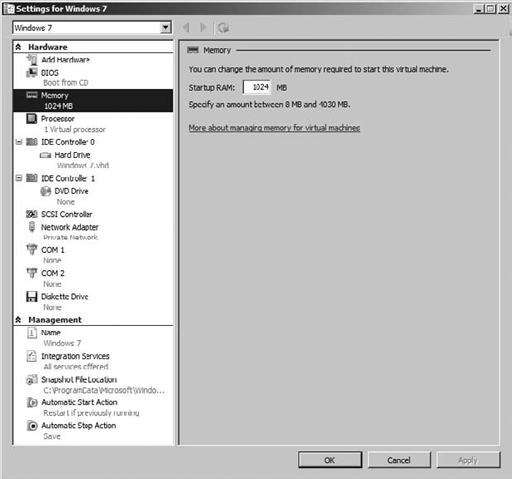
Memory, as shown in Figure 6
Memory is critical to the operation of a virtual machine. This setting
specifies the amount of physical RAM that is allocated to the virtual
machine.
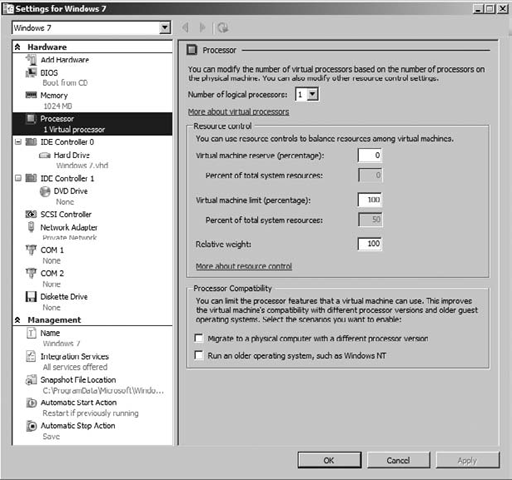
Processor, as shown in Figure 7
You can modify the number of virtual processors assigned to a virtual
machine based on the number of physical processors and cores on each
processor. You can also balance the usage of your processing resources
between virtual machines. In addition, you can limit the processor
features that a virtual machine can use to make it more compatible with
different versions of processors, such as to make a processor more
compatible with an older operating system like Windows NT.
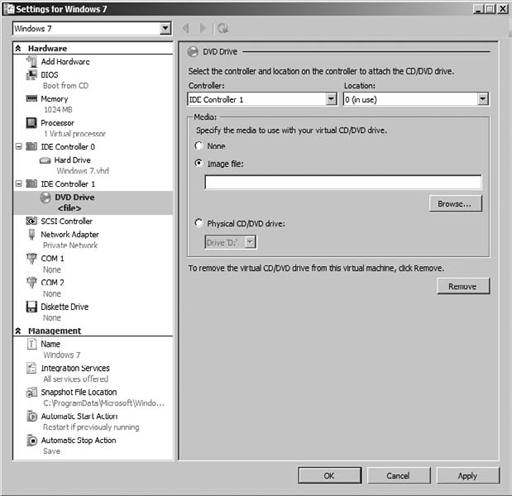
Controller settings, as shown in Figure 8
The Controller settings specify the IDE and SCSI controllers and what
they are connected to. Traditionally, IDE 0 is connected to the VHD file
that is the base of the operating system. IDE 1 is generally connected
to the DVD drive, and you can define exactly what media you want to use
with that DVD/CD drive; for example, you may have an ISO image of an
operating system and want to install the OS using the image file. You
can associate the ISO image with IDE 1.
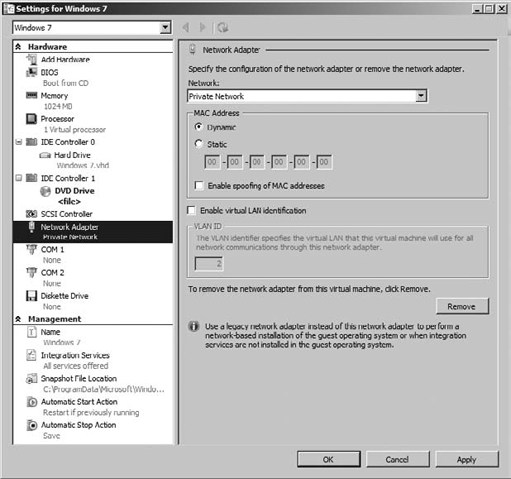
Network Adapter, as shown in Figure 9 The Network Adapter setting allows you to define which of the available virtual networks you will connect to.
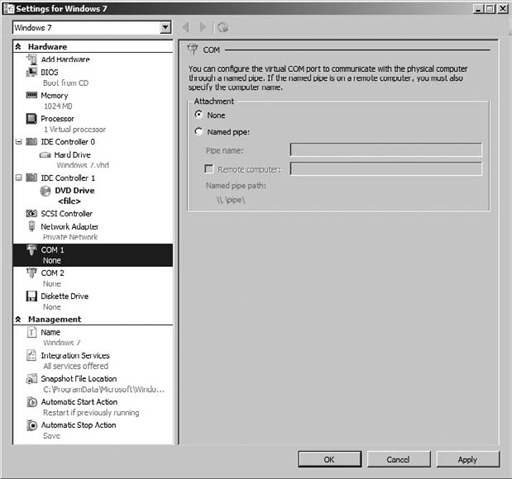
COM settings, as shown in Figure 10 The COM settings allow you to configure the virtual machine to communicate with the physical computer through a named pipe.
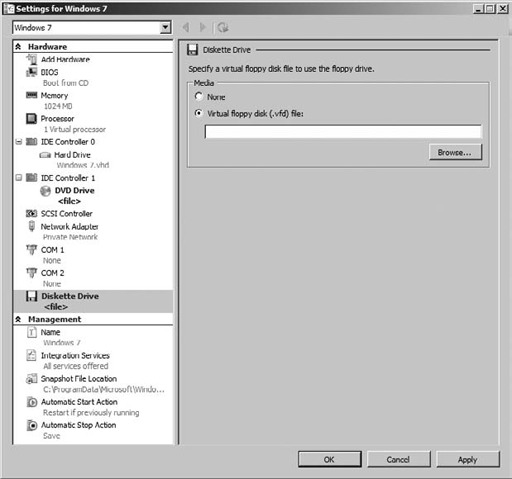
Diskette Drive, as shown in Figure 11
Floppy disks are almost nonexistent in modern physical servers.
However, they were commonplace in legacy hardware and often were the
vehicle for delivering data, applications, and even operating systems.
Should you need to use a floppy disk with a virtual machine, you will
use this setting. A floppy disk is virtualized by using a virtual floppy
disk file (.vfd).
The management settings associated with the virtual machine are as follows:
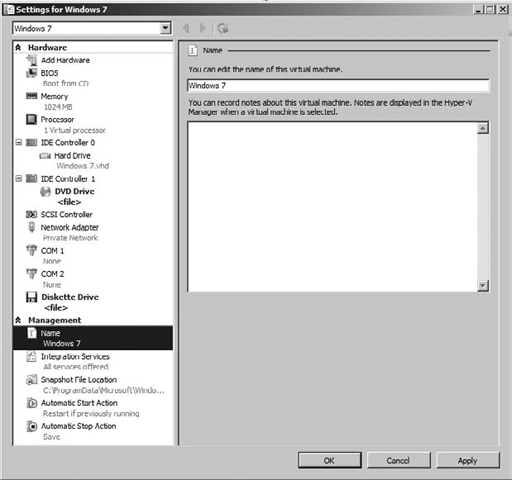
Name, as shown in Figure 12
Each virtual machine has a name. The name can be whatever you choose.
It is recommended that you choose a name that allows you to easily
recognize your virtual machines. The name of the virtual machine is not
permanent. Like any other file, the virtual machine can be renamed.
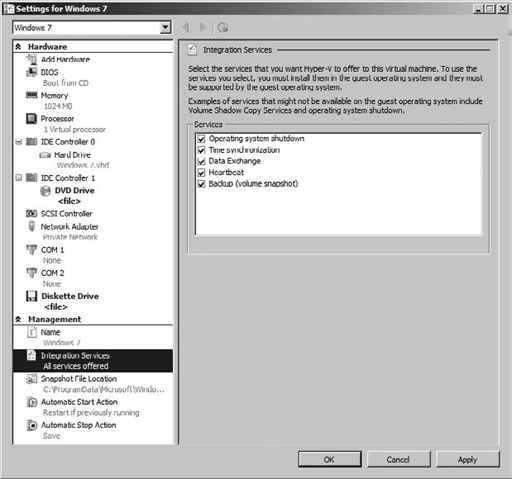
Integration Services, as shown in Figure 13
Running a virtual machine can present some interesting challenges and
opportunities for interaction between the operating system hosting the
Hyper-V server and the virtual machines. These services are called the integration services,
and you can adjust them based on need. You can also rename the virtual
machine with the link in the Actions pane. It will update the value in
the settings file.
Snapshot File Location, as shown in Figure 14
The snapshot file location defines the physical location where
snapshots of virtual machines will be stored. The snapshot allows the
administrator to make a point-in-time snapshot of a virtual machine, and
then if desired, the administrator can apply the snapshot file to
return the virtual machine to the point in time when the snapshot was
taken. You will learn more about snapshots later in this chapter.

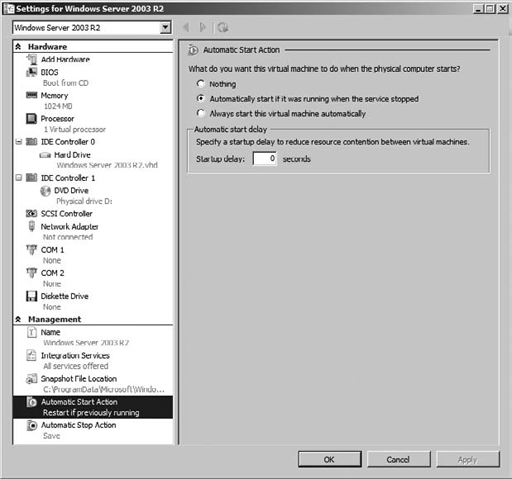
Automatic Start Action, as shown in Figure 15
The automatic start action defines what you want the virtual machine to
do when the physical machine is started. This setting makes it possible
to start a virtual machine automatically each time its associated
physical machine is started. You can also configure an automatic start
delay so that the virtual machine is not competing with the physical
machine for resources necessary to start up.
Automatic Stop Action, as shown in Figure 16
The Automatic Stop Action setting defines what you want this virtual
machine to do when the physical machine that is hosting it shuts down.
The default value saves the virtual machines state. You could of course
shut down the virtual machine or let it turn off (not recommended since
this is the equivalent of pulling the plug).
