A virtual machine is nothing more than an installed
operating system. It is installed, and operates, inside a single special
file called a virtual hard disk
(VHD) file. The VHD file and the specific settings that define the
hardware specifications combine to form the overall virtual machine.
1. Create a Virtual Machine
To create a virtual
machine, click the New option in the Actions pane and select Virtual
Machine. This will start the New Virtual Machine Wizard. This wizard
will guide you through the rest of the process of creating a virtual
machine. The process goes as follows:
Click Next on the Before You Begin screen.
Provide a name for your virtual machine.
If you do not want the virtual machine stored in the My Virtual Machines folder, you will need to supply an alternate location.
Specify how many megabytes of RAM you will allocate to the virtual machine.
Choose which of your virtual networks you would like to connect to this virtual machine.
Specify the virtual hard disk. You can create a new one, use an existing one, or defer and attach a hard drive later.
Choose
to install an operating system later, install from a DVD/CD, install
from a boot floppy, or install an operating system from a network
installation server. This option is available only if you choose to
create a new VHD. If you choose another option, you would be taken
directly to step 13.
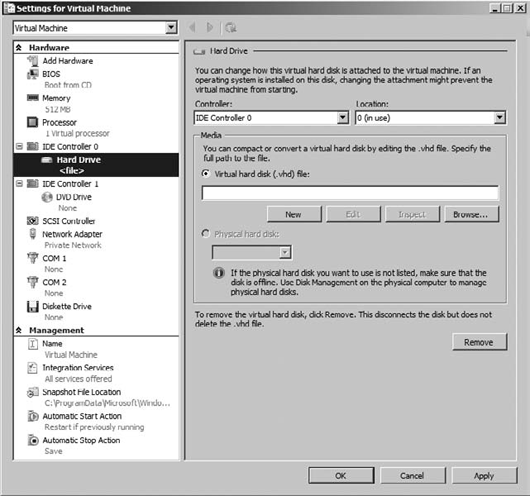
Read the summary information, and if it is correct, hit Finish (see Figure 1).
2. Create Virtual Hard Disks
You undoubtedly noticed
when you created a virtual machine that it is possible to create a
virtual machine and create the VHD later. The virtual hard disk is the
storage component for the virtual machine. It is the location you will
install the files for the operating system and applications.
Virtual hard disks have
some degree of portability. It is possible to import and export VHD
files using Hyper-V and "move" them from one server to another.
All VHDs are not
created equal. There are actually three different types. When you build a
VHD, you will choose which type to create:
Dynamically expanding VHD
Dynamically expanding VHDs do exactly what the name suggests. The VHD
starts relatively small and then dynamically increases in size to
accommodate the storage needs of the virtual machine. It is important to
note that although the disk automatically increases in size as new data
is added to the VHD, it does not automatically shrink in size if data
is deleted from the VHD. To resize the VHD file, you will need to run
the Edit VHD Wizard.
Fixed VHD
A fixed virtual hard disk provides a specific amount of storage space
that is defined at the time the hard disk is created. The size of the
VHD will remain fixed regardless of how much data is added to the VHD.
It is possible to use the Edit Virtual Hard Disk Wizard to increase or
decrease the size of the fixed VHD should the need arise for additional
storage space.
Differencing VHD
A differencing virtual hard disk provides storage to enable you to make
changes to a parent virtual hard disk without altering the parent disk.
The changes are actually made to the differencing disk while
maintaining the original integrity of the parent disk.
2.1. Create a Virtual Hard Disk
To create a new VHD, follow these steps:
Open the Hyper-V Manager.
Click New in the Actions pane.
Click Next on the Before You Begin page.
Select the type of VHD you want to create.
Specify the size of the disk, or copy the contents of a physical disk.
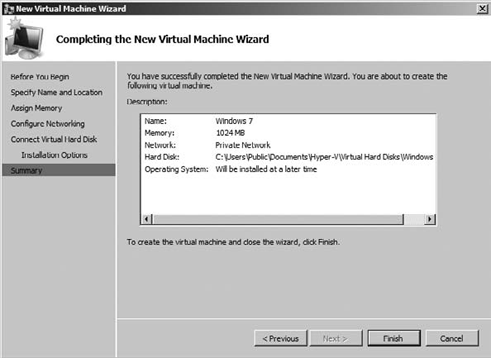
Review the settings you have made, as shown in Figure 2, and click Finish.
It should be noted here that
these steps reflect the process of creating a virtual hard disk with
either the fixed or dynamically increasing types. If you were to create a
differencing disk to use in conjunction with an existing fixed or
dynamically increasing disk, the process would be slightly different.
2.2. Use an Existing VHD
The nature of the VHD makes
it relatively portable. As of this writing, Microsoft is providing VHD
files that can be used by individuals to evaluate Windows Server and
other associated platform products. These VHD files can be downloaded
and used as the base of a virtual machine. You might create your own
virtual machine files complete with operating system and applications
and then export the VHD file and use it on another Hyper-V server. The
portability and versatility of the VHD file make it very desirable. In
fact, it is actually possible to deploy physical copies of Windows
Server 2008 R2 and Windows 7 from a VHD file.
You will remember that
when you created a virtual machine, you were presented with the option
of creating a virtual hard disk to go along with the virtual machine or
waiting until later to associate a VHD with the virtual machine. If you
selected to associate the VHD file later, you will need to modify the
settings of the virtual machine you created.
To add a VHD file to a virtual machine, do the following:
Open the Hyper-V Manager.
Select the virtual machine to which you want to connect the VHD.
Click Settings in the Actions pane.
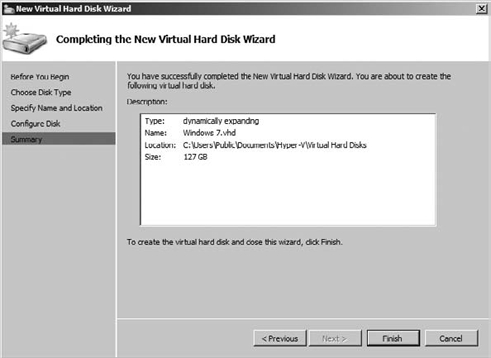
Select Controller IDE 0 or IDE 1, and select Hard Drive, as shown in Figure 3.
Click the Browse button, and locate the VHD file.